DIY Natural Plant-Based Dyes
One of our very favorite weeks with The Playful Pioneers curriculum (based on the Little House series!) is when we create our own plant based dyes! The timing this year was perfect as we had a garden full of veggies to try out. I decided to put together a little picture-based “how to” and I hope you get a chance to give this a try. We all thoroughly enjoyed ourselves and our wheels are turning as we decide what else we could use to dye cloth.

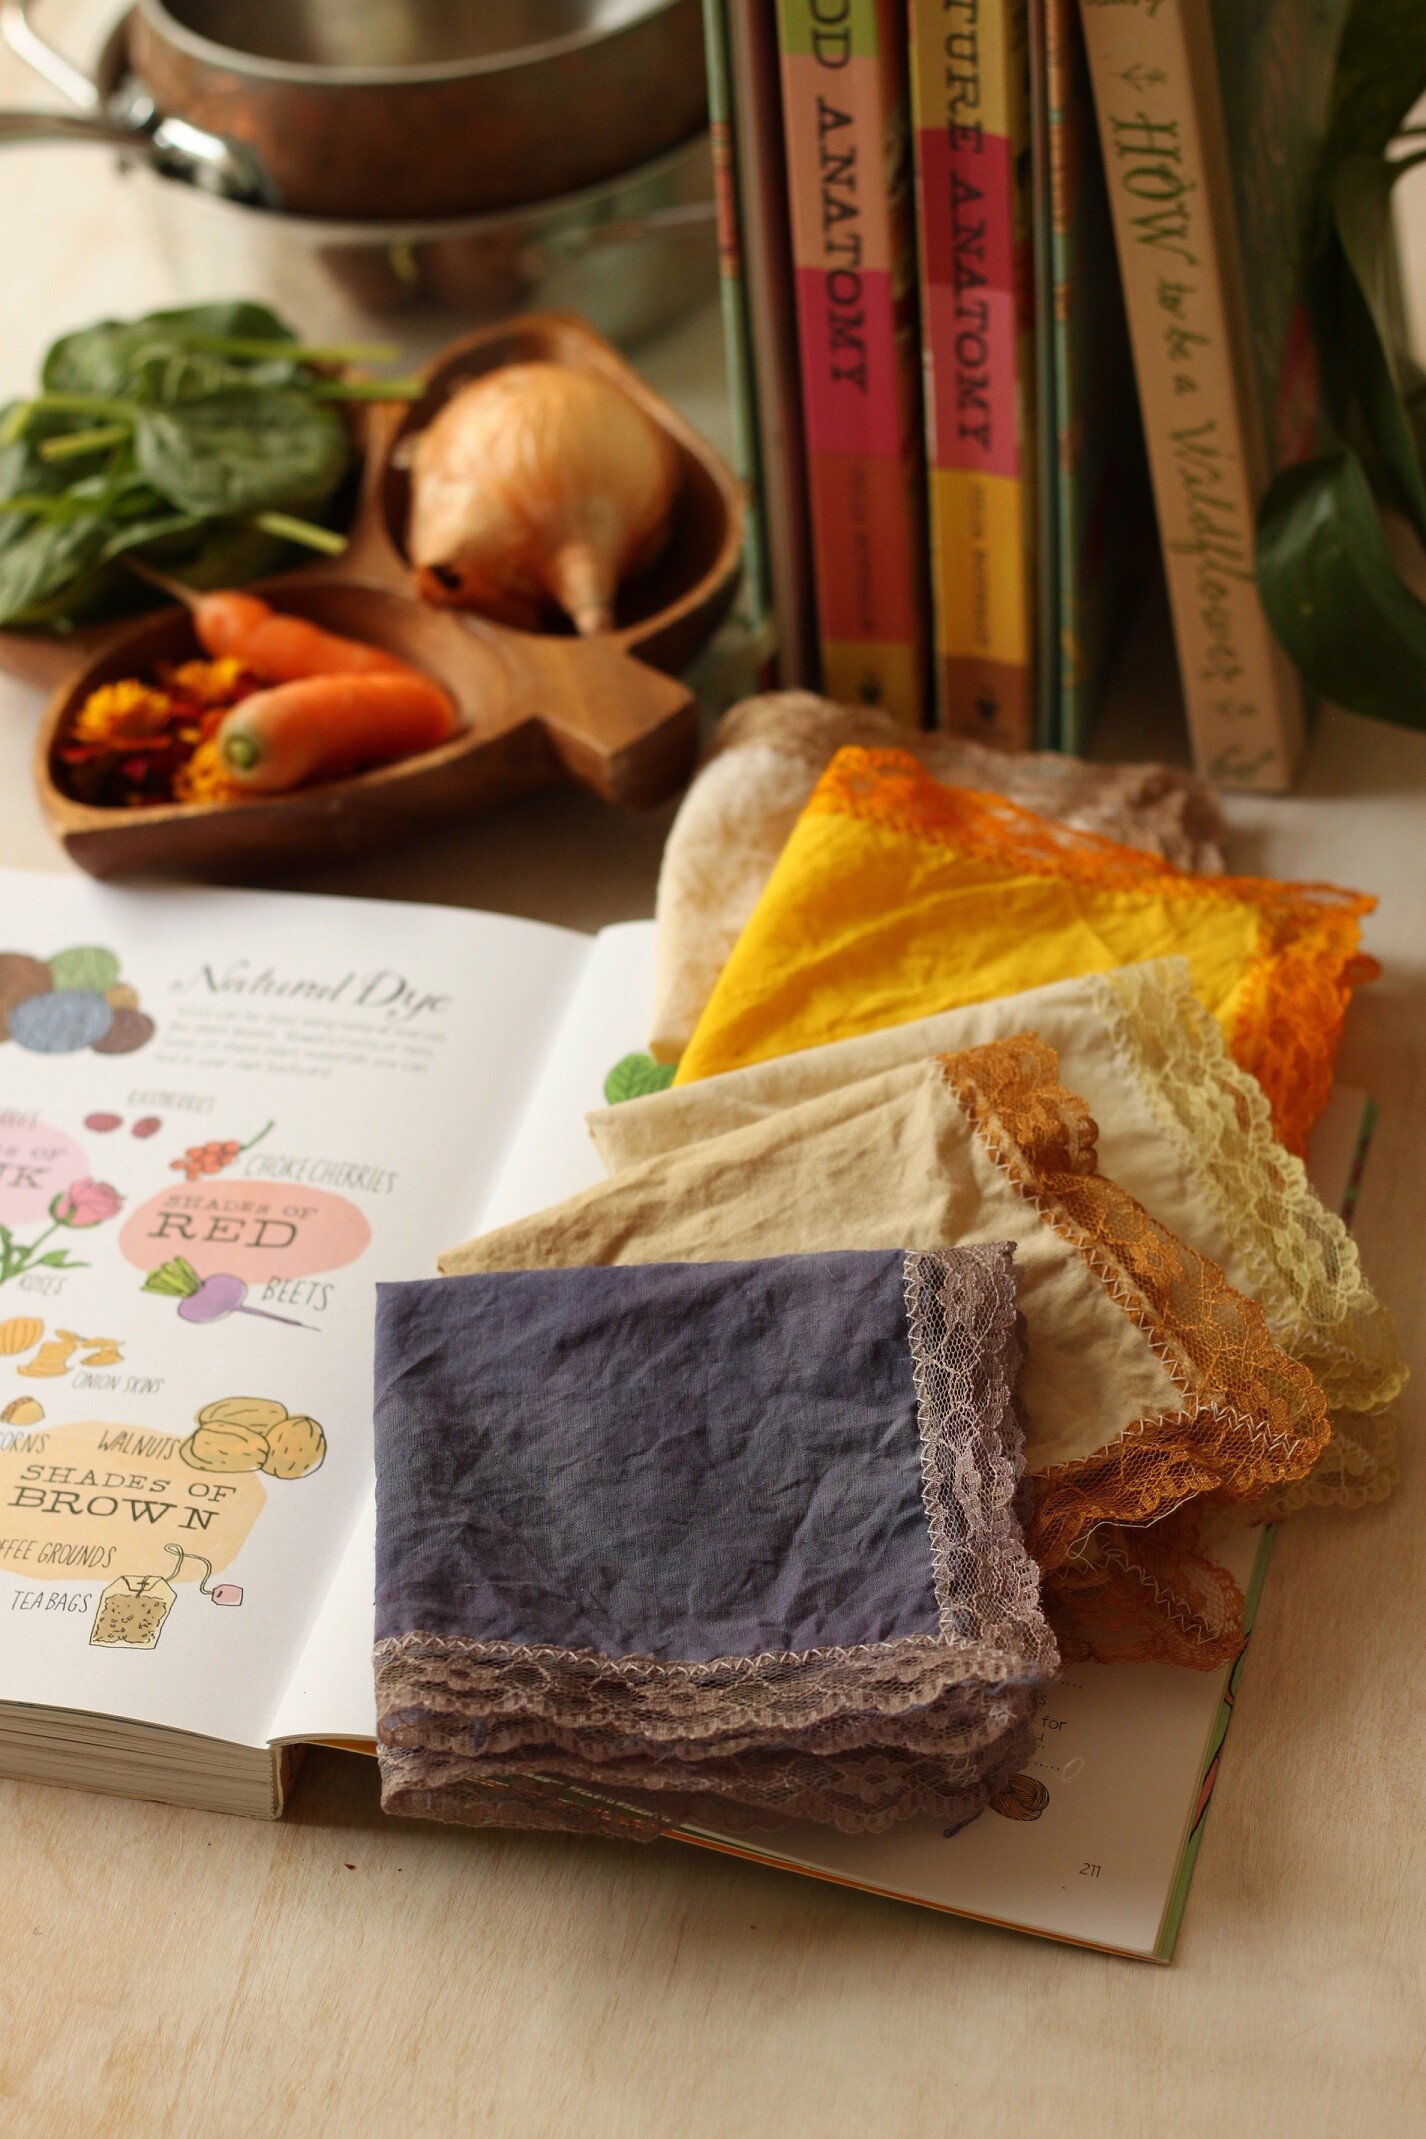
I ordered these cotton handkerchiefs in preparation for this activity and they truly were a hit. The girls loved the delicate lace edge and thought they would were very much “Laura Ingalls approved”. You can use any light-colored natural fabric that you may have on hand as well.

The fabric must first be soaked in a color fixative before it is ready to dye. This step is crucial in enabling the dye to truly set into the fabric. There are many variations depending on what dyes you choose, so please do some research beforehand. We knew were were using mainly plant based dyes so we chose a vinegar fixative. We used one part vinegar to four parts water, we boiled the handkerchiefs in this mixture and let simmer for one hour. After that we gave them a good rinse under cold water.
We then set out to gather ingredients for our dye. In the garden we found carrots, beets, spinach, marigolds, blueberries, raspberries and some good old fashioned grass. In the pantry we decided on onion skins, coffee grounds, tea and black beans.
We gave all our vegetables a good cleaning and a rough chop.
We added double the water to each pot than there was plant material. Be sure to use old pots with any strong colored dye such as turmeric or blueberries!
The girls loved creating there own pots of ingredients…carrots, marigolds and dandelions went in one and beets, black beans and a few blueberries in another! So much hands- on learning happening!
We placed the dye pots on the stove and brought the ingredients to a boil and then simmered for over an hour.
Some would strain and return the dye to the pots at this point but we wanted to add our handkerchiefs to the raw dye so we could see all the goodness go to work.
We added a handkerchief to each pot and returned it to the stove to simmer for another hour. Gloves would be beneficial as these dyes pack a punch! We, on the other hand, prefer pink and orange tinged fingertips!
After an hour, we decided our colors were still quite light and after removing the pots from the stove, we let our handkerchiefs soak overnight for the deepest shades possible. The next morning the girls ohhed and ahhed over there handkerchiefs! We are so happy we waited!
A throughout rinse in a sieve under cold water revealed beautiful results!
We placed our handkerchiefs to dry over the tops of bottles to make sure we didn’t get any leftover dye on anything of value! The colors lightened a little as they dried but we did notice the laced edge picked up different tones than the fabric, this we a wonderful surprise! Remember if you launder your hankies, wash them separately in cold water.
We can’t get enough of these beauties! What a fun project for young and old alike!
Our deep orange came from our turmeric dye blend and our deep purple from our blueberries. The soft brown was from our coffee and the light green from grass and spinach mixtures. There are so many other options to choose from! We can’t wait to revisit this activity in the future. I hope you enjoyed our how-to and let us know if you give it a try! – SUE
A perfect reference book if needed!The Wild Dyer by Abigail Booth
“We are a participant in the Amazon Services LLC Associates Program,
an affiliate advertising program designed to provide a means for us to
earn fees by linking to Amazon.com and affiliated sites.”
You May Also Like
“The Good and the Beautiful” Math Curriculum Review
Making Chia Seed Jam with Kids