Hatching Chicks with Kids

Day One: We placed the eggs in the incubator and for the next 18 days we maintained the humidity and rotated the eggs at least three times a day.

Day 9: We “candled” the eggs to see if there were embryos or not. This had to be done in a dark room so the picture is blurry, but at the bottom of the egg, that leafy shape is a foot! The bright spot at the bottom of the egg is the air sac. The girls squealed seeing the babies wiggle in the eggs…it was finally getting exciting for them!
Day 21: We heard chirping coming from a few eggs! Next, we saw the eggs moving, shaking and then one chick “pipped” its beak through.
Next, the chick “zippered” the entire way around the egg and pushed his way out…his brothers and sisters followed suit over the next 12 hours.
They spent a day in the incubator drying out and keeping warm.
Then, they were moved to a brooder box.
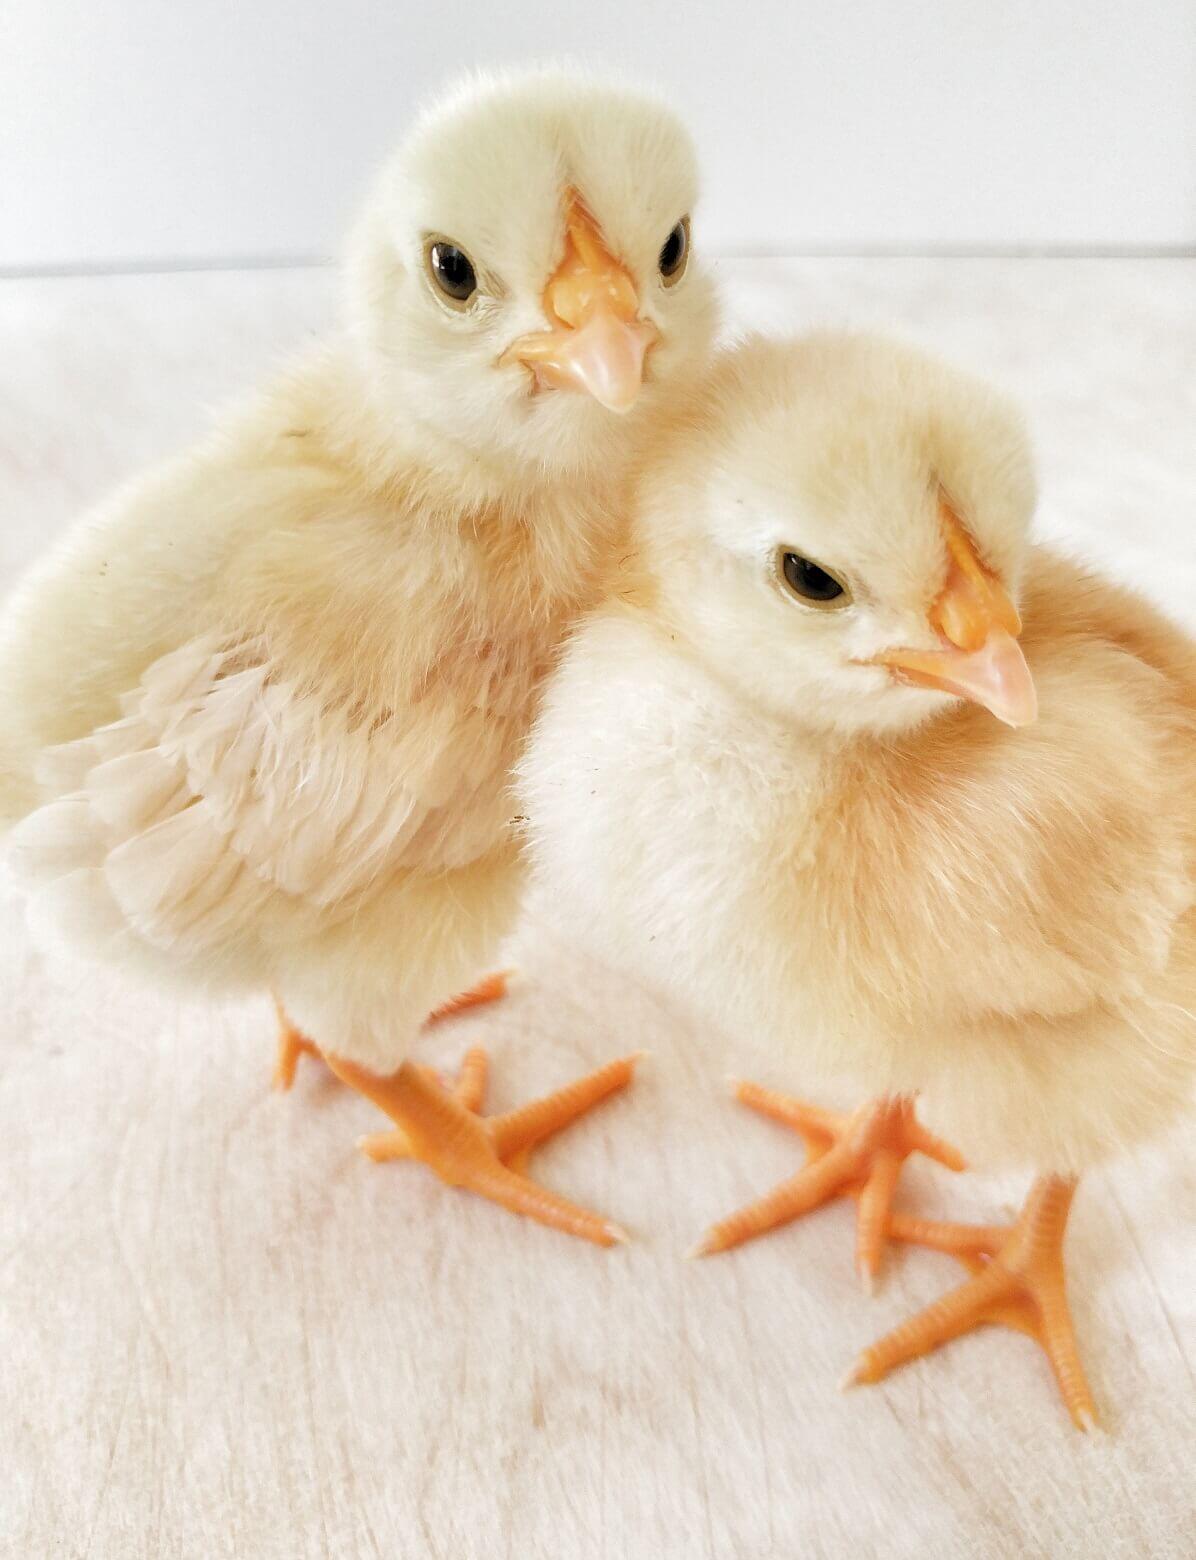
They are in love!
Yes, this chick is sleeping!
Week One
Week Two
Week Three
One more week and we return them to the farm. What a fabulous experience!
Make sure to have a peek at “A Closer Look at Chickens” for a fun unit study!
Sue
One Comment
Pingback: